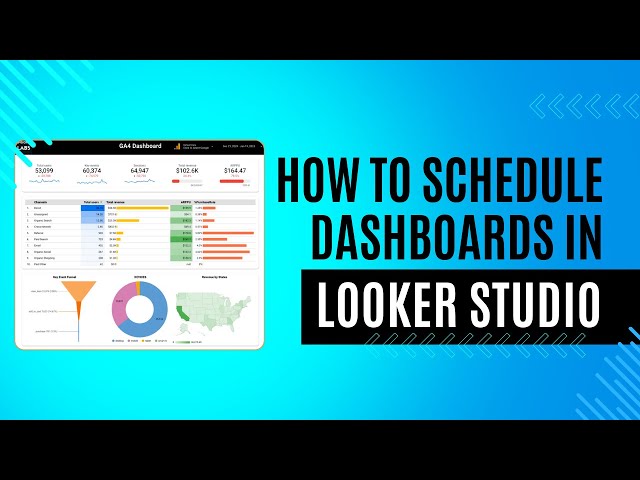
Reporting shouldn’t be a manual chore that eats up your valuable time. If you’re using Looker Studio (formerly Google Data Studio) to visualize your data, you can leverage its email scheduling feature to send dashboard reports to yourself and your stakeholders automatically. This automation ensures everyone stays informed without the hassle of manual exports and forwarding.
Let’s walk through the process of setting up these automated emails in Looker Studio, from start to finish.
Why Schedule Dashboard Emails?
Before diving into the how-to, let’s consider why automated dashboard emails are worth setting up:
- Time savings: No more manual exports and email attachments
- Consistency: Stakeholders receive reports on a regular schedule
- Accessibility: Recipients can view reports without needing Looker Studio access
- Accountability: Regular reporting keeps teams aligned on performance metrics
Prerequisites for Email Scheduling
To use the email scheduling feature in Looker Studio, you’ll need:
- A completed dashboard in Looker Studio
- Editor access to the dashboard
- Recipients’ email addresses
- A clear idea of your desired reporting frequency
Step-by-Step Process to Schedule Dashboard Emails
Step 1: Access the Schedule Email Feature
- Open your dashboard in Looker Studio
- Click on the Share button in the top-right corner
- Select Schedule email from the dropdown menu
This will open the email scheduling modal where you’ll configure all your settings.
Step 2: Configure Your Email Recipients
In the scheduling modal, you’ll see a section for adding recipients:
- Enter email addresses in the “To” field
- You can add multiple recipients by separating addresses with commas
- Include yourself if you want to monitor the sent reports
- Add a personalized subject line
- Include the report name and date range for clarity
- Example: “Weekly Marketing Dashboard Report – Jan 7-14”
- Write a brief message in the email body
- Provide context about what’s in the report
- Highlight key metrics recipients should focus on
- Include any action items related to the data
Step 3: Set Up Your Schedule
Now it’s time to determine when your reports will be sent:
- 1. Select your frequency:
- Daily
- Weekly (choose specific days)
- Monthly (select a day of the month)
- 2. Choose the time when the report should be delivered
- Consider your recipients’ time zones
- Schedule for business hours when people are likely to review
- 3. Set the start date for your scheduled emails
- The default is the current date
- You can schedule to begin at a future date
Step 4: Configure Report Format and Settings
Decide how your report will appear to recipients:
- 1. Choose between PDF attachment or link to the report
- PDF: Good for archiving and offline viewing
- Link: Better for interactive reports or large dashboards
- 2. If selecting PDF, configure:
- Page orientation (portrait or landscape)
- Paper size
- Whether to include all pages or specific ones
- 3. For date range-based reports, set whether to:
- Use a fixed date range
- Use a rolling time period (last 7 days, last month, etc.)
- Auto-adjust the date range with each send
Step 5: Review and Schedule
Before finalizing:
- Review all settings for accuracy
- Send a test email to verify everything works as expected
- Click the Schedule button to activate your automated emails
Best Practices for Automated Dashboard Emails
To get the most out of this feature:
- Keep dashboards focused: Include only the most relevant metrics for your audience
- Use clear labels and headers: Make reports easy to understand at a glance
- Set appropriate frequencies: Daily for critical metrics, weekly for trends, monthly for strategic views
- Test before scheduling: Send yourself a test to verify formatting and data display correctly
- Collect feedback: Ask recipients if the frequency and content meet their needs
Troubleshooting Common Issues
If you encounter problems with your scheduled emails:
- Emails not delivering: Check spam folders and verify recipient addresses
- Reports showing outdated data: Confirm data source connections are refreshing properly
- PDF formatting issues: Adjust dashboard layout with export format in mind
- Too many pages: Consider creating separate, targeted reports for different stakeholders
Final Thoughts
Setting up automated dashboard emails in Looker Studio streamlines your reporting process and ensures stakeholders always have access to the latest data. By following these steps, you can create a hands-off system that delivers insights directly to decision-makers’ inboxes.
Start with a simple schedule and refine as you learn what works best for your team. The time you save on manual reporting can be better spent analyzing the data and developing actionable strategies based on those insights.
Remember that the goal isn’t just to send reports, it’s to communicate information that drives better decisions. Structure your automated emails to highlight the metrics that matter most, and you’ll transform reporting from a chore into a valuable business tool.
Post Suggestion: If you’d like to know how to track your campaigns in Looker Studio, check out this post.

